
If you’ve never taken part in a tiling project before, knowing exactly where to begin can be quite a daunting prospect, especially if you’re worried about accidentally making a mistake in the laying process.
Fortunately, there are several steps you can take when setting out tiles to ensure that your project goes off without a hitch, with the most important being learning how to do what’s known as a dry run. Performing a dry run is a crucial step in any tiling project, no matter the room, and will make sure you know exactly where each and every tile is going.
So, here’s what you need to know about how to start tiling a wall and where to start tiling a floor to ensure that your tiling project stays on track and meets your expectations.
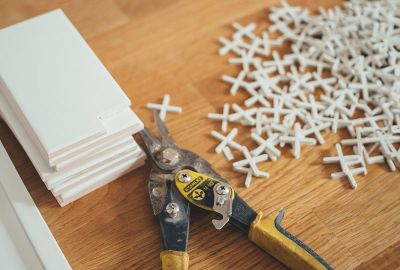
(image credit: Karolina Grabowska)
Important points on setting out tiles
When it comes to installing tiles, it’s just as important to know where your last tile will finish as it is to know where your first tile will be fixed, which is why learning to set out tiles properly is such an important step to take.
Plan your layout
Regardless of what room you’re tiling in, the first thing you should be doing before laying any tiles is sketching out how you want your layout to look.
Not only will this give you an insight into what sort of style options you’ll have available to you, but it will also indicate how many tiles you might need to order. Just remember to use appropriate measurements while doing this so that you aren’t simply guessing how many tiles it will take to fill your chosen wall or floor space – and always remember to add on your extra 10% for cuts and wastage.
Choose the right tiles
Once you have your sketches ready, it’s then time to move onto the tile purchasing stage, as the size and shape of the tiles you buy will alter how your new installation will look.
Square tiles, for example, often work best when laid in straight lines, whereas rectangular tiles are ideal when laid in an overlapping ‘brick-bond’ style and can help disguise non-square walls with their slightly distorted effect. While the options for metro tile laying patterns can be endless! So, you need to decide just which tile shape and size will be best-suited for your project and layout’s needs.
Do a dry run
Finally, once you’ve settled on a pattern and your tiles have been delivered, you’ll want to lay them out, without adhesive, in your desired formation so you can see where best to begin laying and what tiles might need to be cut to fit into awkward spaces.
This step is the dry run and will provide a great opportunity for you to select which tiles line up best with each and which can be used at the side of the room or cut up to fit around floor obstacles.
Of course, you can do all of these steps yourself, but if you plan to hire the skills of a tiling professional, then they should be more than willing to assist you in the dry run stage to ensure your tile installation goes smoothly.
Where to start tiling a floor
As a general rule of thumb, it is far easier to work out where to start tiling a floor than a wall, mainly due to the fact that you’re able to lay your tiles flat on the ground directly in the positions you plan to adhere them to later. So, we recommend starting here first.
1. To begin with, measure your room’s four walls and find their centre points. Then, using chalk, draw a straight line to your room’s centre. This is where you want to lay your first tile down and it will act as your initial reference point.
2. Next, from the four sides of your central tile, lay your tiles until they reach either wall. Once done, measure how much of the final tile on each line will need to be cut to fit into the gap between the tile and the wall. If it’s less than half, you’ll need to adjust the placement of your central tile and repeat the process until you have a clean finish on all walls.
3. Finally, when you’re satisfied with the placement of your central tile, mark out its spot in chalk so you know where to begin tiling. From here, you can fill in the remaining four quadrants of the floor in your chosen pattern and style, making note of where cuts will be needed so that you get a clean finish around the room.
As a side note, don’t forget to make use of tile separators during this process. These are used to mimic the placement of grout, something you will need to apply during the actual tiling process, and will ensure that you don’t end up using any extra tiles.
For more help with your grout lines, explore our guide: What space should I leave between tiles?
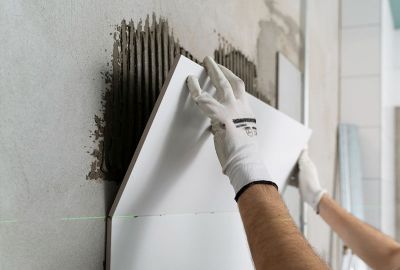
How to start tiling a wall
Although a more daunting task when compared to doing a dry run for a tile floor, tiling a wall and knowing where to start is almost identical to floor tiling. So, if you’ve done your floor first, you should be more than ready to do your walls.
1. To begin with, you’ll want to start by finding the centre points of your wall’s adjoining floor, ceiling, and side walls, using chalk to mark them and then drawing a line from each to find the centre of your wall.
2. From the centre, using the measurements of your tiles, mark out a plus at each tile corner and then proceed to measure outwards, tile-by-tile, to each edge, being sure to leave enough room between each tile for grout.
3. Finally, as you did when doing the tile dry run for your floor, check that your edge tiles will be more than half of their original size. If not, then you’ll need to readjust your centre point and repeat the process. Once this is settled you can then mark out the rest of the spaces where your tiles will be laid.
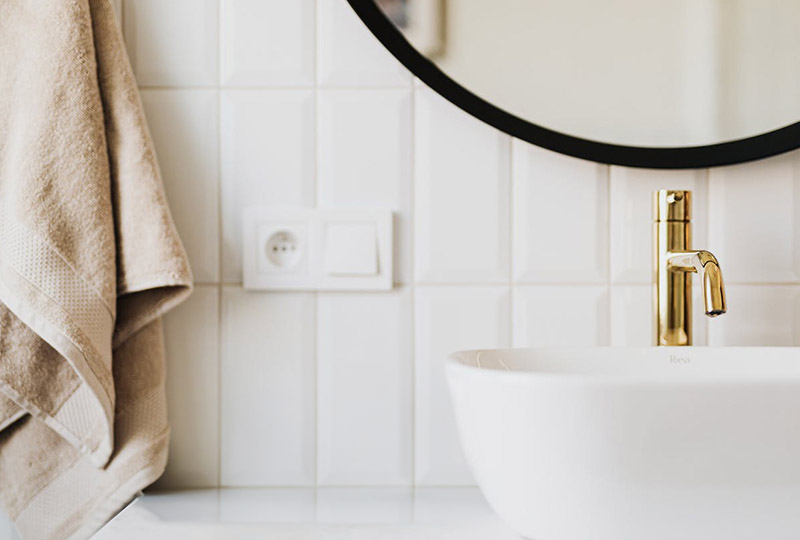
Where to start tiling a bathroom
Once you’ve chosen tiles for your bathroom, you will likely need to account for certain floor or wall obstacles. When you walk into a room the direction of the door opening will determine what area of the room you view first and generally your view to the right at eyelevel before scanning the rest of the walls and focussing on features in the room. As such, considering what you see at eye level is key and behind the door and on the floor is less relevant.
Tiling your bathroom floor
When working on your floor, you’ll almost certainly need to know how your tiles will lay in relation to your bath, shower, toilet, and sink, though in these cases, you can treat your bath and shower as you would the edge of your room, and mark out the size and shape of your tiles in chalk when working around your sink or toilet.
Tiling your bathroom walls
As for things like tiling around a window, it’s actually best not to start in the middle of the wall due to the likelihood of awkward tile cuts around the window. Instead, adjust where you start until you find the spot that gives your tiles and window joints a flush finish.
Where to start tiling a kitchen
Much like tiling in a bathroom, you’ll likely also have several obstacles you’ll need to work around in your kitchen. As a general rule of thumb, when tiling your kitchen, you want to avoid having any slithers in high-usage areas, such as doorways, below sinks, and in front of cooking spaces, especially if you want an aesthetically pleasing look.
It’s also the norm to tile under kitchen islands to achieve a sharp finish but bear in mind how your island sits in relation to the other fixtures and fittings so that you don’t end up with your tiles looking cut off by the island’s base.
With this information in hand, you should be more than ready to start preparing your room for tiling. Of course, if you have any more questions, then don’t hesitate to get in touch with our team of experts.
We would love to hear from you, but you can also browse the rest of our tile installation advice guides for similar articles to this one – including our guide to choosing tiles that are suitable for both walls and floors.