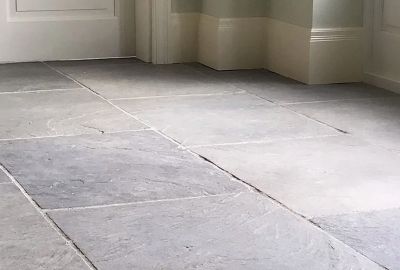

No matter whether you want a traditional set of natural stone tiles or favour modern porcelain tiles, it goes without saying that you’ll need an appropriate foundation to tile onto. And while there are many different types of floors out there that are suitable for tiles, one of the more common ones you might come across is concrete.
Regularly used in building projects, tiling onto concrete is an excellent option thanks to its strength and durability. However, there are still certain steps you’ll need to take to in order to get a flat finish.
So, to make sure you’re tiling on concrete correctly, here is everything you need to know about how to lay tiles on concrete, including preparing your concrete floor for such a project, and additional considerations to bear in mind once you start tiling.
What to consider when tiling on concrete
While you can start tiling on concrete floors immediately, this could prove problematic if you haven’t double-checked what your subfloor is actually made of - which is not as simple as it might seem.
Although the surface of your floor might appear to be concrete at first glance, this type of floor shares many characteristics with other surface types – specifically anhydrite screeds.
As the names suggest, the anhydrite screeds are made from different materials, and so require different adhesives to be used to ensure your tiles stick properly.
Fortunately, identifying which of these materials your floor might be made of is a simple process.
- Concrete tends to be coarser and a much darker grey in shade.
- Concrete tends to be thicker.
- Screeds tend to be spread over a concrete base, so if you find a dark layer beneath the floor’s top, you know you’re working with a screed.
- If you're tiling in an area where moisture is present and inevitable, such as cellars, then it’s almost certain that you’ll be working with a screed so that the floor is protected from dampness.
Is concrete the same as cement?
No, but it is a common misconception. Cement is actually an ingredient found in concrete, and concrete itself is made of cement, a very fine powder made from limestone, sand, clay, iron ore, and other aggregates.
How to install tile on concrete floor
Now that you’ve identified whether or not your subfloor is actually made of concrete, it’s time to start the tiling process. We suggest following the 5 steps below for the best results:
1. Check your concrete is dry – if your concrete has just been laid or was previously wet for any reason, it’s important that you make sure it is completely dry before you start tiling so your adhesive dries properly. Typically, this means 1 day for every millimetre of thickness if it’s been freshly laid or several days if you’re drying a damp surface.
2. Check for cracks – once you’re sure your concrete is dry, the next step is to check it for cracks and damage. If you do spot any cracks, these need to be filled in and left to dry, while damaged concrete should be removed and replaced.
3. Clean the surface – with your concrete deemed suitable for laying, you should carry out one final sweep to remove any dust or dirt that could interfere with your adhesive. Newly laid concrete in particular may have a layer known as laitance, which is a surface layer of fine particles that needs to be removed before you lay your adhesive.
4. Check your floor is level – an even and consistent surface is essential if you want a smooth finish for your tiles. So, once everything is ready, you should check if any area of your concrete is uneven. If this is the case, you’ll want to apply a self-levelling screed where appropriate or explore our guide to tiling onto uneven surfaces.
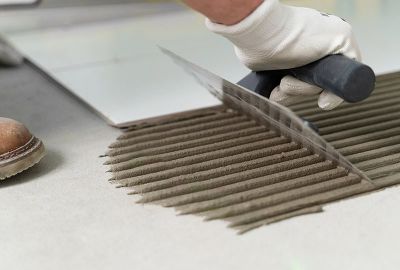
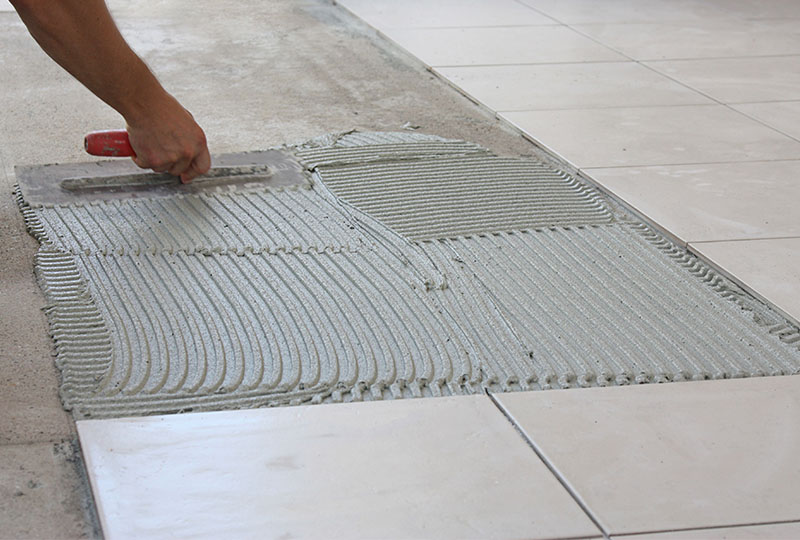
5. Prime your floor – finally, with everything else out of the way, the last thing you need to do is to prime your floor with a bonding agent. Suitable tile primers and cleaners will ensure your adhesive performs properly and keeps your tiles in place.
After all of these steps have been covered and you’re satisfied with the results, you can begin laying your tiles as you would normally.

Other things to bear in mind when laying tiles on concrete
While the steps we’ve outlined above are the main things you need to consider when tiling a floor on concrete, we’d also suggest considering any of the following additional options to make your tiling installation even easier, particularly for anyone wanting to know how to tile over under floor heating.
First, you might want to think about laying down either an uncoupling membrane or a cement board on top of your concrete. Either of these will provide an extra layer of protection for your tiles and help prevent cracking due to shrinkage.
We’d also recommend grouting your tiles properly to ensure that they can absorb both warpage and movement when exposed to temperature changes.
You should now have all the information you need on how to lay floor tiles on concrete, however if you're wondering how to lay outdoor tiles on concrete in particular, you can find everything you may need to know in our porcelain paving installation guide. Of course, you may still have other questions about this process, and if this is the case, then you can get in touch with our team of experts at Stone Superstore.
Our team are happy to answer any questions you may have regarding your tiling needs and don’t forget that you can browse the rest of our tile installation advice for more tiling tips for beginners – including our guide to tiling onto wooden floors.