
You've been diligently cleaning and maintaining your floor tiles for years, but now you've encountered a mishap - a nasty scratch caused by something sharp. But don't worry! You can restore the beauty of your tiles quite easily, either by yourself or with some professional help.
In the following step-by-step guide, we'll show you how to remove scratches from porcelain tiles, as well as how to remove scuff marks from floor tiles all by yourself. Plus, if you prefer professional assistance, we've got you covered. So, without further ado, read on to learn how to get scratches out of tile flooring.
How to fix scratched tiles
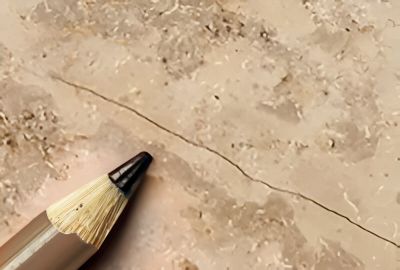
It's important to know that natural stone tiles are porous, which is why they need to be sealed during installation. However, while the sealer provides excellent protection against stains, it may not be enough when it comes to sharp scratches.
Different types of stone have varying structures affecting their scratch resistance. For instance, travertine has a honeycomb-like structure with visible holes, making it more susceptible to damage. On the other hand, marble tiles are denser and less prone to scratches due to their smaller particles formed under pressure and heat.
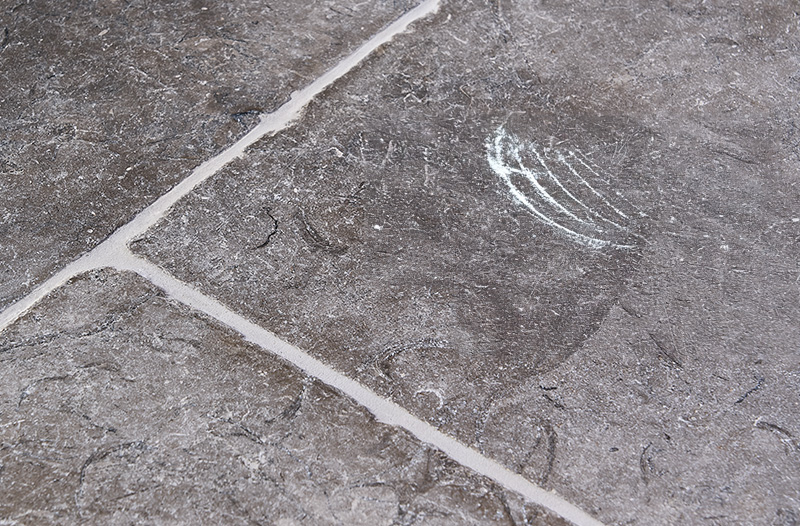
Even polished porcelain tiles are not immune to scratches: despite their shiny surface, they can shatter at a microscopic level when forcefully punctured by a sharp object.
Repairing tile scratches
Knowing how to fix scratched floor tiles can be easy with the right approach. If you’ve noticed scratches on your natural stone or polished porcelain tiles, don’t worry! When it comes to removing scuff marks from tile floors, you have options to bring back that showroom shine. Whether you choose to tackle it yourself or hire a professional, here's a step-by-step guide to help you get started:
- Remove impurities: Begin by thoroughly cleaning the floor to remove any dirt, debris, or residue. Use a gentle tile cleaner and a soft mop or cloth to ensure the surface is clean and ready for repair.
- Repair and polish: For a DIY approach, consider using a specialized stone polishing kit available at many home improvement stores. Alternatively, hiring a professional tile restoration company is recommended for the best results. They have the expertise and equipment, such as diamond pads, to grind and polish the damaged area, matching it with the existing floor's shine.
- Reseal the floor: After the scratches have been repaired and the floor has been polished, it's crucial to reseal the surface. Tile sealer helps to protect the tiles from future damage and maintains their appearance. Follow our guide on how to seal natural stone tiles before grouting for detailed instructions.
Remember, professionals offer valuable skills and guarantee top-quality results. Although it may come at a cost, it ensures your floor is expertly restored. However, if you prefer the DIY route, be sure to follow instructions carefully.

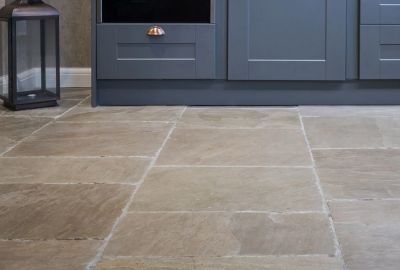
Left: Versailles Menton Limestone, Right: Camden Grey Limestone
How to protect your stone flooring
Prevention is key to maintaining the beauty of your stone flooring. Here are some easy ways to protect it:
- Regularly sweep or vacuum your floor to remove dirt and grit that could cause scratches.
- Use doormats at entryways to minimize the amount of dirt that’s brought onto the floor.
- Place felt pads or coasters under furniture legs to prevent them from scratching the surface.
- Avoid using abrasive cleaners or harsh chemicals that could damage the tiles.
- Periodically reseal your natural stone tiles to maintain their resistance to stains and scratches. Refer to our guide on re-sealing natural stone tiles for more information.
By following these steps and taking preventive measures, you can enjoy beautiful, scratch-free stone flooring for years to come!
What is diamond technology?
You may have heard that you can use diamond technology to remove scuffs and scratches from your tiles. Diamond technology is a powerful tool used by professionals to repair scratches on tile flooring, by using a machine equipped with diamond pads of different grades – it’s similar to sandpaper but more expensive. These pads have varying sizes of diamond grit particles, which determine their level of coarseness.
The process begins by using the lowest-grade pad to grind away the damaged surface. As the professional progresses to higher-grade pads, they gradually polish the affected area until it matches the shine of the rest of the floor. Once the entire floor has been treated, it undergoes a thorough cleaning before a protective sealer is applied, ensuring long-lasting beauty and protection for your tiles.
Hopefully, you now feel confident when it comes to approaching how to remove scratches from tiles or removing scuff marks from tile floors, but for additional tips and guidance, including learning how to care for your natural stone tiles and easy DIY repairs for stone tiles, visit our tile maintenance advice page.
By taking proper care of your tiles and addressing any scratches promptly, you can enjoy a beautiful and durable floor for years to come. Don't hesitate to reach out to our team if you have any further questions or need professional assistance - we're here to help you maintain the elegance and longevity of your tile flooring!