A newly paved patio or driveway is a brilliant way of transforming your outdoor space. However, if a new set of outdoor tiling isn’t quite within your budget just yet, you may be wondering what options you have to spruce up your current patio.
And while it might not be the first thing you think of when it comes to modern garden paving ideas, painting your patio could be just the solution you need to brighten up your home’s exterior - a DIY-friendly project that is growing in popularity for big and small garden patio ideas alike.
Keep reading to learn all of the tricks of the trade when it comes to how to paint a patio, including how to pick the right patio paint, and how to paint paving slabs that will last.
Can you colour paving slabs?
Unsurprisingly, the answer to the key question of can you colour paving slabs is a resounding yes. In fact, with the right paint, it can be both cost-effective and very easy to do yourself.
However, you must’ve picked an appropriate stone paving slab paint to begin with. After all, the last thing you want is for your newly painted patio to crack, chip, or peel after only a few weeks.
Therefore, taking the time to choose the right patio paint is essential.
How to choose a patio paint
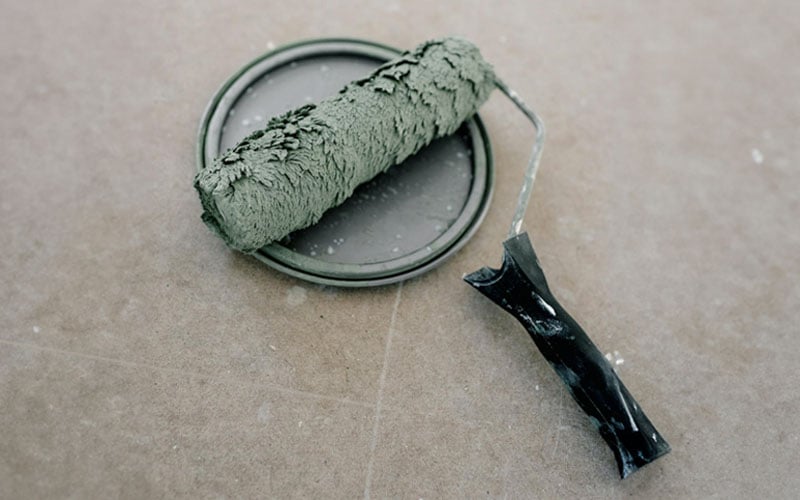
First things first, when it comes to how to choose a patio paint, you want to stay away from your typical indoor paints and look specifically at those tailored towards outdoor use – but even here, you need to be careful with the type of paint you pick.
For example, masonry paint is often flagged as a good option for patio paint thanks to its acrylic-based formula, which helps it adhere to stone and concrete and easily match any expansion and contraction that may occur.
However, while this does make masonry paint fantastic for use outdoors, it’s only really designed for use on vertical surfaces. Continuous pooling water, something that happens on all patios, will quickly weaken such paints, reducing their lifespan very quickly.
Instead of masonry paint, we recommend investing in a specialist floor stone paint. Not only will it match the flexibility of masonry paint, but it’s also more hard-wearing, giving your patio a lasting appearance for years to come.
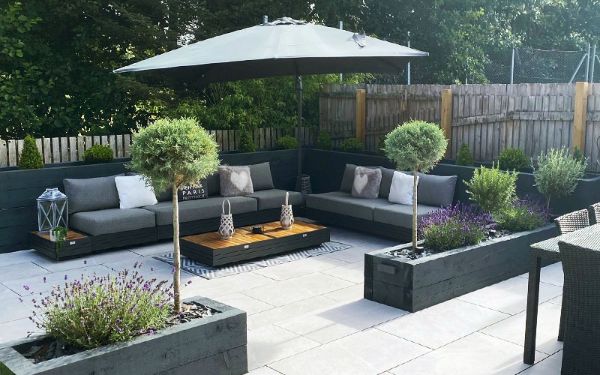
As for patio paint colours, you’ll be able to find a whole range of tonal options to help match your garden aesthetic, including tans, whites, greys, and blacks.
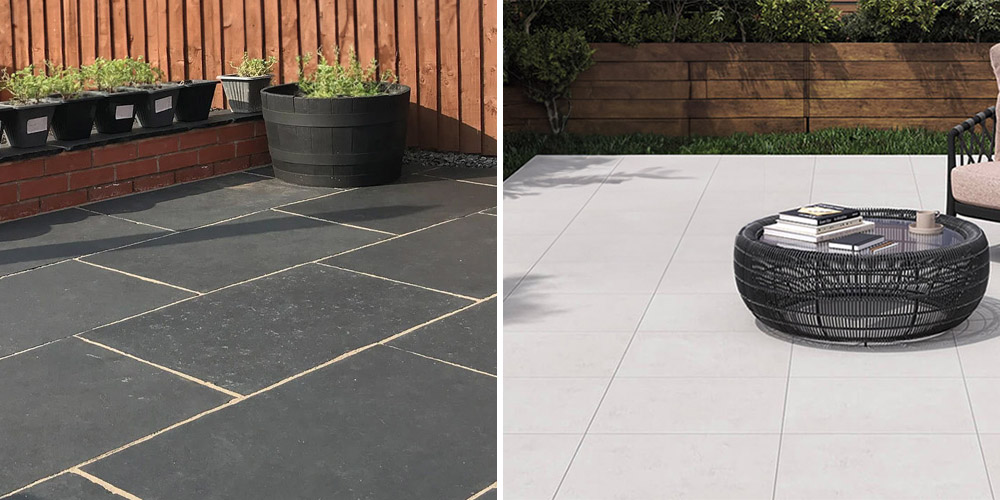
From dramatic black paving slabs to lighter grey paving tiles, consider your colour choices carefully and how it will visually impact your outdoor space
How to paint a patio
Now that we’ve covered what type of paint you should choose when painting your patio, let’s look at how to paint garden slabs properly so that you can be left with an outdoor area to be proud of:
1. Pick a warm and dry weekend
To begin with, as with most garden-related projects, you’ll want to start by choosing a warm, and more importantly, dry weekend to work during. You’ll likely need more than one day to completely paint your patio, and warm and dry weather will make sure you can get it all done in one go rather than spacing it out over a week or more.
2. Clean and prep your patio
With the sun shining, the first thing you’ll need to do is clear and clean your patio. Start by moving any furniture and plants out of the way and then take a hose or pressure washer and spray the entire area down to get rid of any accumulated dirt.
Then, if there is any moss or mould remaining on your patio, take a suitable remover and follow its instructions to thoroughly clean your patio space entirely. In fact, this is a step we suggest following even if your patio appears moss-free, as cleansing it in this way will ensure a tighter hold for your paint.
Finally, if your patio grout is broken, loose, or missing, you’ll want to fill in these gaps as well as seal any cracks with an appropriate outdoor caulk or sealer. Again, this will give your paint that much better grip once applied. You should also take this opportunity to remove any sealant currently down to allow for paint absorption.
As you may have guessed, this step might take you quite a while, depending on how much you need to do to your patio before painting it. With that in mind, you may want to consider doing this step either the weekend or the evening before. That way you’ll give yourself the whole of your planned weekend to do your painting.
3. Etch your slabs
Now that your patio is clean, start the painting process by applying an etching formula to your stone. This formula is designed to make it easier for your primer and paint to adhere to your slabs, giving you a longer-lasting finish overall.
To do so, simply follow the instructions on your chosen product and then scrub and rinse your patio thoroughly with fresh, clean water. A gentle hose is fine here, but stay away from using a pressure washer as this could remove the etching formula.
4. Apply your primer
We’d always recommend applying a primer to your patio – once again, for maximum adherence to your stone.
To do this, start by using masking tape to protect the edges around your patio you don’t want to paint, as well as any areas within it you want left bare. Then simply follow your primer’s instructions and apply a thin layer, leaving it to dry for the recommended length of time.
5. Apply your base paint
Next, with all that prep work finally out of the way, it’s now time to apply your paint. This can be done with either a brush or a long-handled roller, depending on the texture of your patio tiles. For example, a roller is better suited for smooth tiles, while a brush is ideal for textured tiles as its bristles are better suited to getting in all those nooks and crannies.
With your chosen painting tool in hand, start by applying the first coat from the furthest corner and paint inwards, applying thin and even coverage. Then leave your paint to dry fully before applying the next coat. Repeat this until you’ve applied a minimum of 3 coats.
6. Add any finishing touches
Once satisfied, you should then leave your patio for 24-48 hours to ensure it’s fully dry, at which point you can remove any masking tape within the painted area, add any more touch-ups needed, and then, when these are dry, apply a coat of waterproof sealant to help preserve your work. After which, your job is done!
How long does patio paving paint last
With your patio now fully painted and shining in the sun, you’re probably curious to know just how long it will last before you might need to apply a fresh coat. And the good news is that it’s likely going to last a lot longer than you might expect!
In fact, if painted properly and well cared for afterwards, painted paving can last upwards of 5 years before needing a recoat, but you might find it lasts even longer than this, depending on the weather it’s exposed to and how often you use your patio in general.
For more tips on caring for your patio, why not read our blog on natural stone paving care?
Choose your outdoor paving with Stone Store
You should now have a much better idea of how to paint a patio should you want to refresh your existing paving tiles. For those looking for more of a transformation, head over to our full Stone Store tile ranges to browse our full selection of outdoor paving, and remember to order your free samples.
From natural limestone slabs to porcelain paving options, we have everything you need to bring your dream patio to life. Get in touch today to learn more, and don’t forget to visit our advice hub for more guides like this one, such as our piece on looking after porcelain paving.