
Whether you're fixing natural stone limestone tiles or architectural concrete-effect porcelain tiles, you first-need to know whether wet underfloor heating has been installed. With this information, you can then assess whether your flooring substrate is suitable, to ensure your project is a success. We don’t want your floor tiles to crack, come loose, or even have your tile adhesive de-bonding from working with the wrong substrate!
Here’s our guide to everything you need to know about tiling over wet underfloor heating, from the different screeds you can use to why it’s important to use the correct type. Let’s jump in.
What is screed?
Screed is an important layer that serves as the foundation for your tiled floor. It provides a smooth and level surface for tile installation.
There are two main types of screed:
- Calcium sulphate (anhydrite) screed
- Traditional sand and cement screed
Anhydrite screeds, which are lighter in colour and smoother in texture, offer advantages like easy installation, affordability, and quick drying. Traditional screeds, made from a mixture of cement and sand, are darker and rougher. 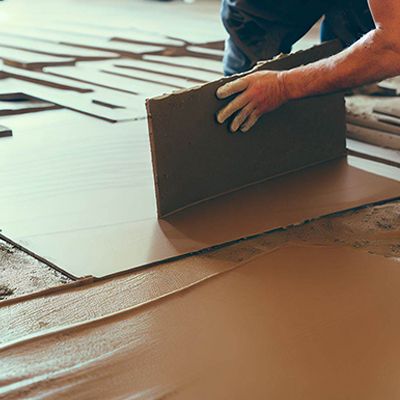
How to identify the different types of screed
There are a few tell-tale signs you can look for when figuring out the screed used on your existing flooring.
Sand and cement screeds
- Darker in colour and rougher in texture than anhydrite screeds.
- They are commonly known as "traditional" screeds, and are typically made from a 1:4.5 ratio of cement to sharp sand.
Calcium sulphate (anhydrite) screeds
- Lighter in colour and smoother in texture than traditional sand and cement screeds.
- They offer benefits such as ease of installation, low cost, fast drying, self-levelling properties, and minimal shrinkage, so are very popular in new homes.
- Anhydrite screeds may not require joints, as they can cover larger areas.
To determine the type of screed, it’s useful to check the depth at a doorway. If it exceeds 70mm, it is likely a sand and cement screed. However, always confirm the screed type before laying tiles over wet underfloor heating. For more information on tiling onto calcium sulphate, discover how to tile onto anhydrite screeds.
Why do I need to determine the type of screed?
Why do you need to determine the type of screed before laying tiles over wet underfloor heating? Simply put, combining certain screeds and adhesive risks de-bonding.
If floor tiles are fixed with a cement-based adhesive and applied directly onto an anhydrite screed, cement in the tile adhesive will react with the gypsum in the screed, forming a mineral called ettringite.
The interface change is enough to cause a complete de-bond of the adhesive from the tile to the screed. Therefore, a specialist gypsum-based floor tile adhesive suitable for anhydrite screeds must be used.
Alternatively, a suitable bonding agent such as Kerakol Primer A can be used to form a barrier between the substrate and the adhesive. The screed is generally defined as a self-smoothing 'levelling' screed, used solely to give a flat and even surface. A 'levelling' screed doesn't contribute to the structural performance of the floor, and tends to be thinner in depth than a thicker 'wearing' screed. This adds strength and stability to the floor. 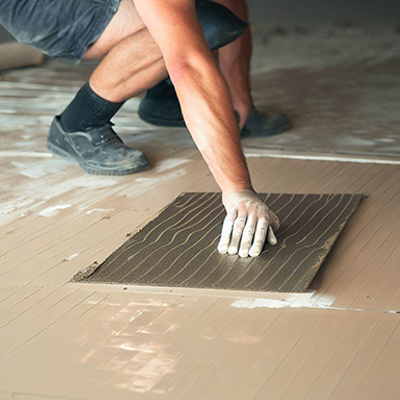
Things to consider before tiling over wet underfloor heating
As well as the type of screed you're working with, you need to find out whether the underfloor heating has been commissioned and brought up to full working temperature before you start work. If not, the screed may fail, resulting in tiles coming loose. Key considerations to make before fixing floor tiles include:
- Is the screed dry?If the screed is new, the general rule is to allow a drying time of one day for every millimetre of thickness. For new and old screeds alike, it's prudent to perform a moisture test. We recommend the use of an antifracture matt with all new screeds.
- Is the screed damaged?Damaged screed should be replaced, while cracked screed should be filled or a suitable anti-fracture matting should be fitted.
- Is the screed surface clean and free from contaminants?Dust and dirt should be removed from old screeds. New screeds may have laitance, a surface layer of fine particles displaced as water evaporates.
- Is the screed flat, level, and smooth?An even and consistent surface will make fixing floor tiles easier and quicker.
- What primer should you use?The use of a bonding agent ensures the adhesive can achieve optimum performance. We don't recommend using PVA as a primer.
When tiling over wet underfloor heating, use flexible adhesive and grout to accommodate the small changes in movement that occur with underfloor heating and cooling.
When it comes to how to tile over wet underfloor heating, understanding the type of screed in your substrate is vital; whether you're working with natural stone tiles or porcelain tiles, proper assessment and preparation of the screed are crucial for success.
And don't forget, we're here to support you every step of the way. Whether you need guidance on cleaning your tiles or caring for natural stone paving, our informative tile guides have you covered. Feel free to reach out if you have any questions or require further assistance and we’ll create the perfect outdoor oasis together!


