
In this guide, we will walk you through the important process of sealing your natural stone tiles to provide lasting protection and maintain their beauty. We'll cover what to check before sealing, offer step-by-step instructions on how to seal your tiles, explain the recommended drying time before grouting, and provide essential tips for maintaining your tiles after sealing. By the end, you'll have all the knowledge you need to keep your stone flooring looking its best!
What to check before sealing stone tiles
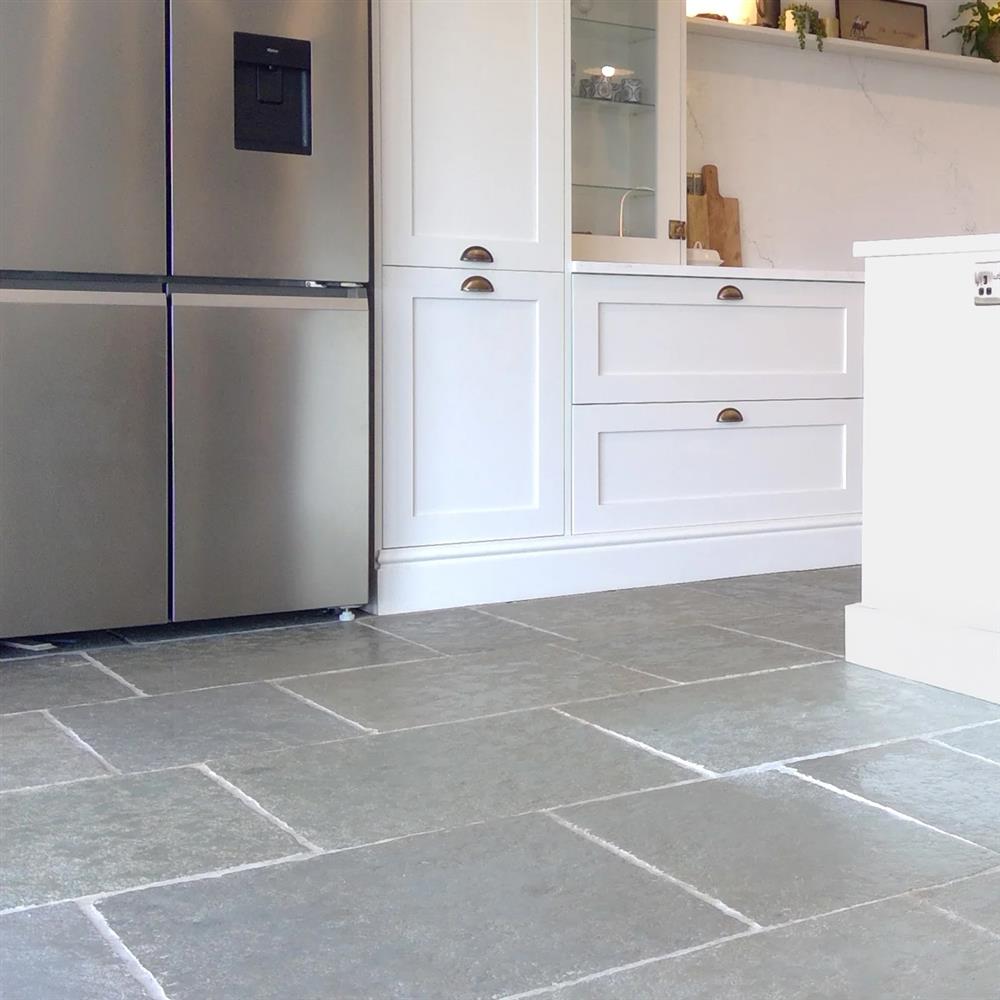
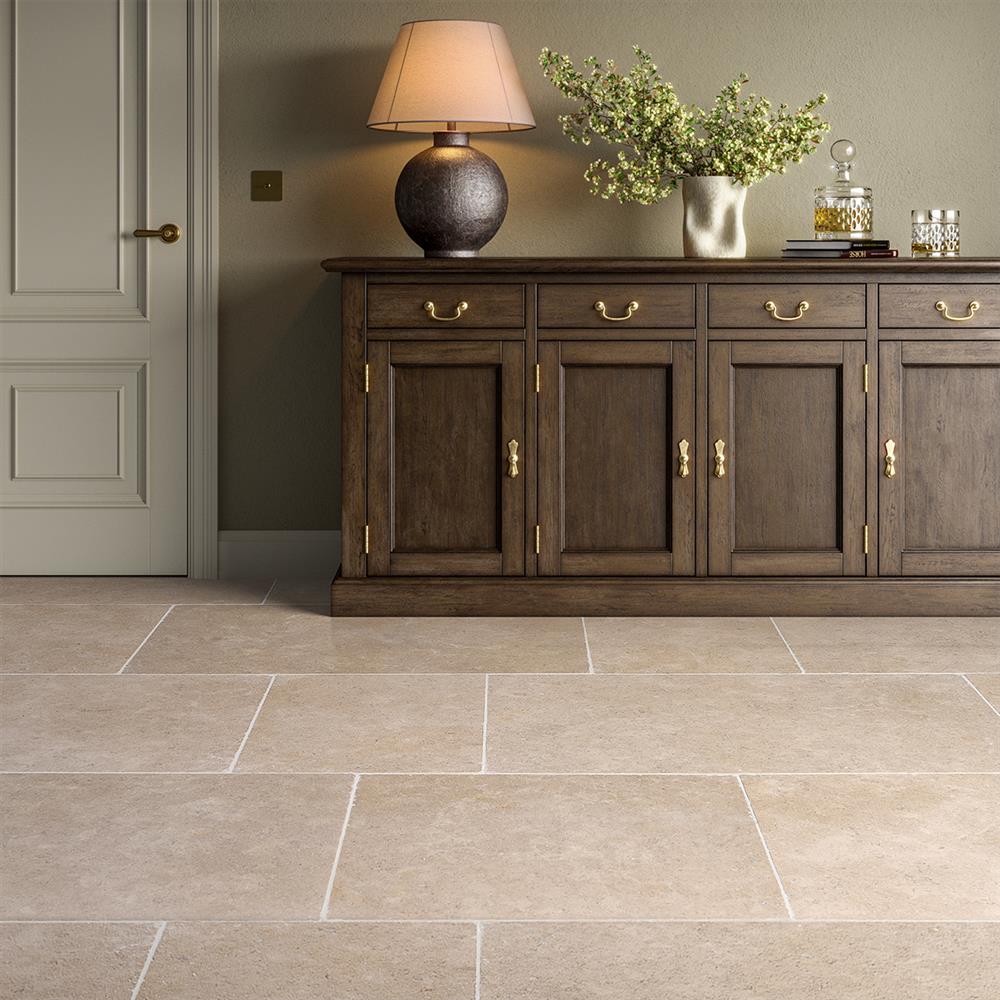
All natural stone tiles, whether polished, honed, or tumbled, are porous and require sealing before grouting. This essential step fills the pores with a protective sealer, preventing grout particles from causing a hazy surface appearance on your tiles. Before you proceed with sealing your stone tiles, it's important to follow a few essential steps to ensure the best results:
- Clean the tiles: Start by cleaning the newly laid tiles using a suitable product like LTP Grimex. This step is crucial to remove any surface residues, dirt, or impurities that may have accumulated during the installation process. Use a clean cloth or sponge to apply the cleaner and thoroughly wipe the tiles, paying attention to any grout lines or hard-to-reach areas.
- Remove stubborn stains: If there are any stubborn stains on the tiles, it's recommended to use a specialized stain remover suitable for your type of stone. Follow the instructions provided by the manufacturer to effectively treat and remove the stains. Ensure that the tiles are completely clean and free from any visible stains before proceeding to the next step.
- Check for residual moisture: Before sealing stone tiles, it's crucial to ensure that they’re completely dry. Moisture from the adhesive or cutting process can be trapped within the tiles, and if not properly dried, it can reduce the effectiveness of the sealer. Allow sufficient drying time as per the manufacturer's guidelines or use a moisture meter to confirm that the tiles are adequately dry.
- Test the sealer: It's recommended to test the sealer on a small, inconspicuous area of the tiles before applying it to the entire surface. This test will help you assess the compatibility of the sealer with your specific type of stone and verify if it provides the desired results in terms of colour enhancement and protection. Follow the instructions on your sealer product, for the testing process.
How to seal stone
Sealing your stone tiles is an important step to protect them from stains and maintain their beauty. Follow these simple steps to learn how to seal tiles efficiently and effectively:
1. Apply your first coat of sealant
Start by applying one coat of tile sealer before grouting, using a purposeful pad or cloth for even distribution. This initial coat will provide a protective layer and prevent grout from penetrating the tile surface, and you can add another coat after you’ve grouted. Allow the sealer to absorb into the tile for approximately 20 minutes, to allows the sealer to penetrate the pores of the tile and create a barrier against staining.
2. Buffing away any excess sealer
After the absorption time, gently buff away any excess sealer from the tile surface. Use a clean cloth or sponge to wipe off the excess sealer before it dries. This step is essential to prevent streaks or blotches on the tiles and ensure a smooth, uniform finish.
3. Allowing your sealer to dry
After sealing, it's important to allow sufficient drying time before regular use. The sealed tiles can be walked on after a minimum of three hours, but it's crucial to avoid any water contact during the first 24 hours to allow the sealer to fully cure. You should also refrain from cleaning the tiles for at least three days after sealing, to ensures that the sealer has ample time to set and provide optimal protection.
How long to leave tiles before grouting?
Once you've sealed your tiles, it's important to give them enough time to dry before moving on to the grouting step. As a general rule, it's best to wait at least 24 hours or as directed by the sealer instructions before applying the grout.
This waiting period allows the sealer to fully cure and bond with the tiles, ensuring effective protection and avoiding any potential issues when grouting. However, the specific drying time may vary depending on the type of sealer you used, so be patient and give your tiles the time they need to dry for the best results!
How to maintain tiles after sealing
Sealing your stone tile flooring not only provides protection, but it also simplifies daily maintenance. Once you’ve sealed your stone tile flooring, simply incorporate LTP Waxwash into your cleaning routine (diluting a few capfuls in warm water, washing the floor, and allowing it to dry without rinsing), before gently buffing with a dry soft cloth for an extra shine. Our range of tile primers and cleaners are specifically designed to give your tiles longevity while being gentle enough on natural surfaces.
It’s also important to re-seal your tiles every 3 to 4 years, but remember to remove the old sealer first! Our guide on re-sealing natural stone tiles has all of the steps you need to follow for a perfect process.
Whether you want to learn the proper techniques for resealing your tiles or need assistance with everyday DIY repairs, our tile installation advice page has you covered. Additionally, we have a comprehensive guide specifically dedicated to DIY repairs to stone tiles, providing step-by-step instructions and insightful advice. Your stone flooring will thank you for it!


