
When it comes to tiling your own home, learning how to correctly mix and apply your tiling adhesive is an essential part of your project to get right the first time.
Too little and your tiles won’t stick to the floor for long. Too much and you’ll have adhesive oozing out the sides, coating your tile edges and interfering with your grout's ability to adhere properly. Either way, an adhesive mistake could mean tearing up your new tiles and starting all over again.
Fortunately, with a little know-how and practice, it’s very easy to learn how thick tile adhesive should be, as well as how much you should be applying, making the whole process a breeze for the budding DIYer.
How much tile adhesive do I need for my project?
Generally speaking, when it comes to working out the amount of tile adhesive you might need for your project, it’s best to consider the following areas:
- Tile type: are you laying wall or floor tiles? Wall tiles need less adhesive than floor tiles due to their weight.
- Tile size: how big are the tiles you’re using? Again smaller tiles need less adhesive because they weigh less.
- Tile material: are you using heavy porcelain tiles or lighter ceramics? Heavier and denser tile material, such as natural stone, will need more adhesive for a firm hold.
- Adhesive type: are you using ready-made adhesive or powdered adhesive? Ready-made is suitable for walls but powdered is a must for your floor tiles.
- Tile area: how wide an area are you planning on tiling? The larger the area, the more adhesive you’re going to need.
As you can see, there is a lot to consider at the start of the adhesive process, but if you’re in doubt about just how much adhesive you need, it’s always a good idea to see how big an area your chosen adhesive product can cover and then buy slightly more than you need, just in case.
 (image credit: Freepik)
How thick should tile adhesive be?
When it comes to how thick tile adhesive should be, it all comes down to where you’re tiling and what material your tiles are made of. But as a rule of thumb, you should aim to make it thicker than thinner, as you can always wipe excess adhesive away if it proves too much.
The thickness of the adhesive you need will also varies depending on your tile’s surface, which is why we’ve clarified exactly how much adhesive for wall tiles and how much adhesive for floor tiles you’ll need to mix:
How much adhesive for wall tiles
Due to their lighter nature, you’ll usually want less adhesive than you might think for wall tiles to prevent them from protruding too far out from the wall. That’s why we’d recommend using no more than 2-3mm of adhesive unless your chosen tiles are particularly big.
How much adhesive for floor tiles
Heavier and more dense than the typical wall tile, floor tiles need a bit more adhesive applied to them in order to get a firm hold. Therefore, you should aim for a minimum of 3-5mm of adhesive, again applying more if your tiles are larger than normal.
The pros and cons of powdered and ready-mix adhesive
Now that we’ve touched on how thick the tile adhesive is meant to be, let’s now take a moment to examine which type of adhesive you should use for your specific tiling project.
As we’ve mentioned, there are two types of tile adhesive available for use – powdered adhesive and ready-mixed adhesive – both of which have their pros and cons:
- Powdered adhesive: typically better for floors and bathrooms, powdered adhesive dries faster, is moisture resistant, and performs better under the stress of being walked on. However, it does require you to mix it yourself.
- Ready-mixed adhesive: as the name suggests, ready-mixed adhesive can be used straight out of the tub, with it being particularly well-suited for wall tiling due to the way it sets. But ready-mixed adhesive also takes longer to dry due to how it’s mixed as well as being more expensive overall. You will also need to make sure you pick a waterproof version if you’re working in a bathroom, as not all of them have this quality.
How do I make tile adhesive?
Lastly, let’s touch on how to make tile adhesive, and the good news is that, if you’re working with a ready-mixed adhesive, you can get started immediately – no mixing required.
If, on the other hand, you opted for a powdered adhesive, then you should follow the instructions provided on the packet to get the best results. Typically, this will mean adding the right amount of water to powder ratio in a bucket and then mixing it until you have a smooth textured paste without any lumps.
Where do I apply tile adhesive?
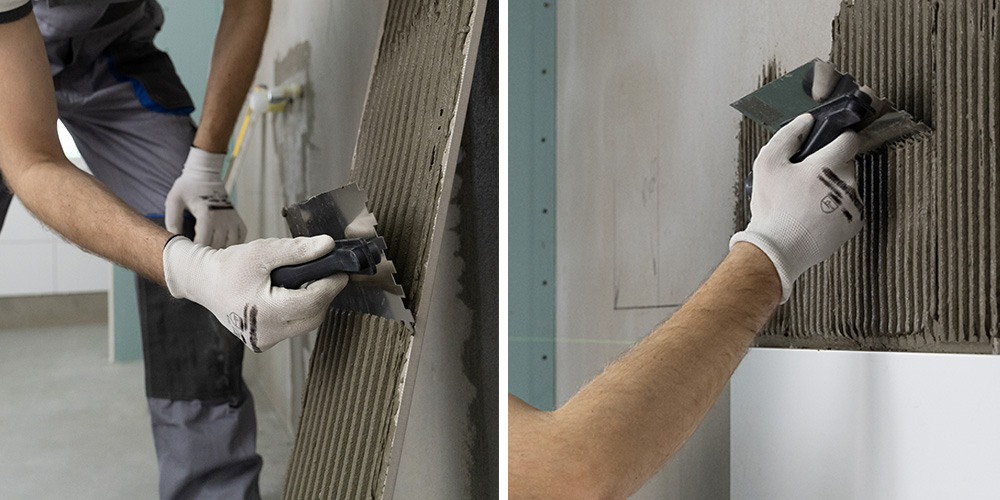
While we’ve discussed a lot about making your tile adhesive, it’s somewhat redundant if you don’t actually know where to apply it. So, when it comes to applying tile adhesive, you have two options – Applying adhesive straight to the wall or floor is standard, but for larger tiles (600x600mm and above) you should apply to the wall/floor AND a thin coat to the back of the tile too. This is called back-buttering.
You should now be able to mix and apply your tile adhesive without issue. If you have further questions on the tiling process, you should get in touch with the Stone Store experts today. And don’t forget that we also have plenty of other helpful articles like this one over on our advice blog.


