
Do you have a brand-new tiling project in mind for your home? Perhaps you’re thinking of installing a new set of kitchen tiles by yourself, or re-laying your entire bathroom floor tiles over a long weekend – after all, surely DIY tiling can’t be that hard?
Well, as rewarding as tiling DIY can be, if you’ve never tiled anything before, it’s worth noting that there is a lot more to ‘do it yourself tiling’ than you may first think, especially if you don’t take the time to properly research the do’s and don’ts of a do-it-yourself floor tiling or wall renovation project.
However, if you are set on carrying out a do-it-yourself floor tiling project on your own, and want to avoid any potential mistakes or rookie errors, don’t worry – we’ve laid out all of our top tiling tips to help make your next project run as smoothly as possible.
Our top ‘do it yourself tiling’ tips
Ready to get started with your tiling DIY plan? Be sure to read our top 8 tiling tips below before you begin:
(image credit: charlesdeluvio)
1. Always assess the project cost before starting
One of the main reasons why people choose to carry out tiling projects on their own instead of hiring a professional is to save money on labour costs. And given the variation in prices that tilers can charge, it’s an understandable concern.
However, while tiling DIY might seem cheaper at first glance, if you do make an error, miss a key step, or require the use of specialist tools to cut your tiles into shape, you might very quickly find that your budget-saving measures have actually ended up costing you more than hiring a professional in the first place.
So, to summarise, without the required experience or tools, ‘do it yourself’ tiling can be rather tricky. Costs rarely stay within budget, and mistakes are almost guaranteed to happen with first-time tilers. So, unless you’re confident in your ability to lay your new tiles perfectly the first time around, we'd encourage you to consider hiring a professional instead.
2. Make sure you can complete the job
The second of our tiling tips for beginners is a crucial one – before starting, it’s very important that you consider whether or not you will be able to complete the job by yourself.
DIY tiling is a very physical task, and bending down for a couple of days to fix kitchen floor tiles or stretching to fix the highest bathroom wall tiles can be far more tiring than you may initially think.
On top of this, the skill required to correctly cut and sand tiles into shape requires accuracy and the right tools, which you’ll likely need to rent, and any additional test cuts you need to make could wind up delaying your project further.
Now, you might be thinking that if you find the project is too much, you could hire a tiler to finish the rest. Unfortunately, all this is likely to do is cost you even more money in the long run.
In almost all scenarios, a professional tiler will want to start over, which means you’ll need to buy new tiles, potentially pay to have the subfloor repaired, and then wait longer than you wanted for your room to be ready.
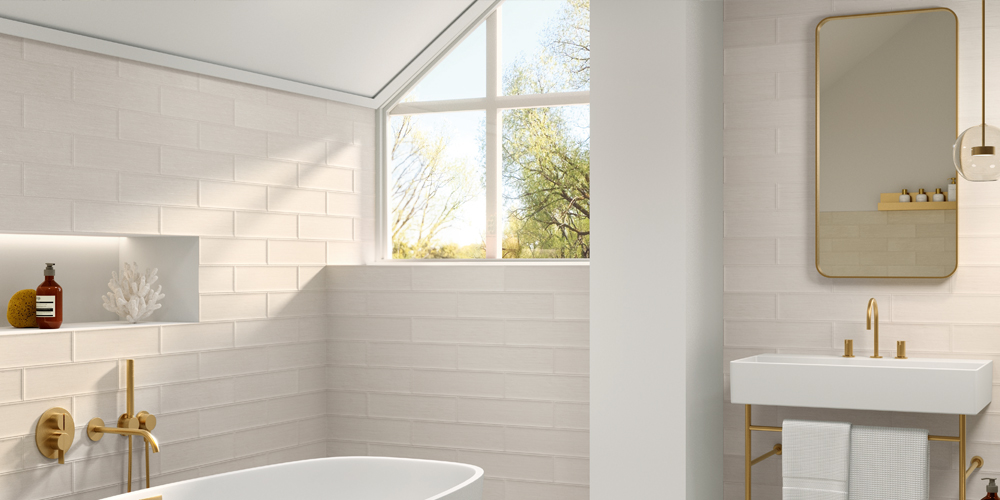
Tiling around windows, alcoves or corners can be tricky, and require precise cuts
3. Check you have time to finish the project
When it comes to DIY tiling projects, the time it can take to complete them will vary greatly from person to person. However, on average, a professional tiler would expect to complete a 20m bathroom wall and floor project in roughly three days.
So, if you're planning to get all your tiling done over the weekend, be sure to consider your room size, especially if you want to complete the project before Monday rolls around. Otherwise, it may mean that the room in question is out of action for longer than you anticipated.
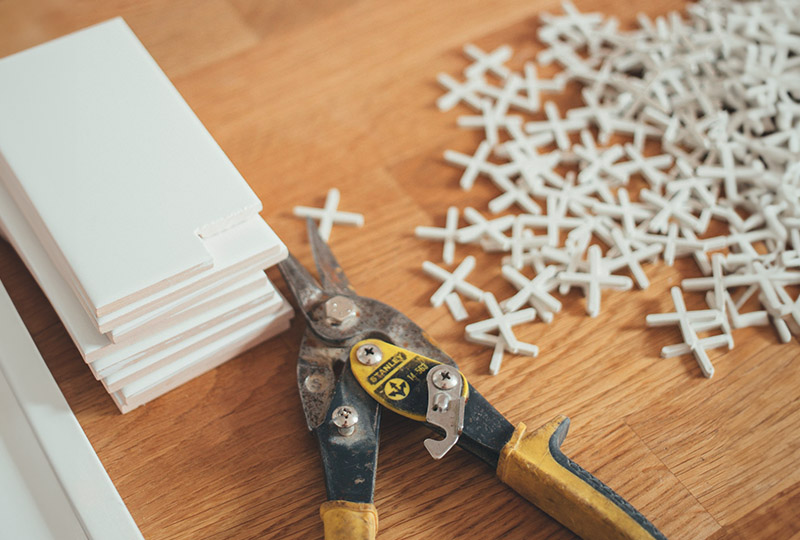
4. Get hold of the right tools
Before installing tiles of any kind, regardless of whether they’re porcelain tiles or stone tiles, you need to be sure that you have the right tools to prepare your subfloor, as well as the cutting implements you might need to trim your tiles to fit awkward gaps.
For example, cutting marble tiles successfully requires a diamond-tipped wet saw, because trying to make precise and neat cuts with a ‘dry cutter’ or angle grinder will just lead to irreversible damage to your tiles.
Therefore, be sure to do your research on the equipment you need to get the job done properly before you start, that way you won’t be delayed trying to find a specific type of saw of grout halfway through your work.
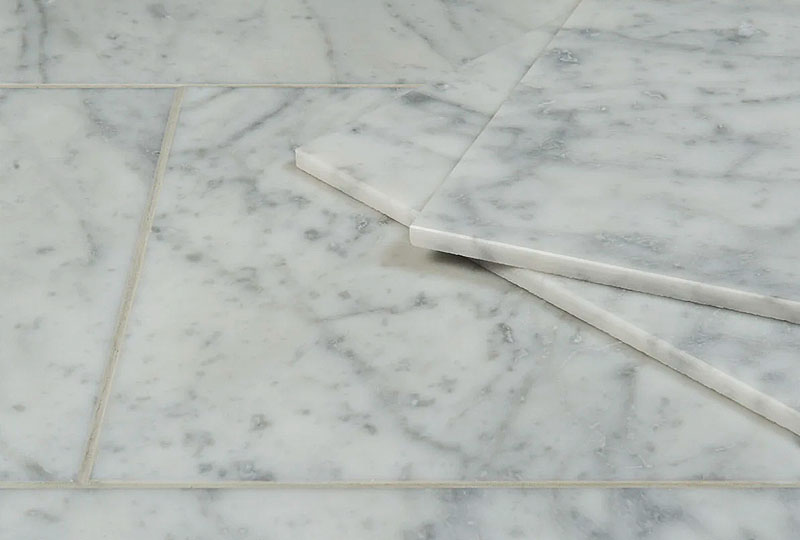
Marble tiles, in particular, require specalist cutting tools to avoid cracking
5. Double check you have the right tiles
It goes without saying that it’s very important to check that the tiles you’ve chosen are not only the ones you initially ordered but that they’re also suitable for use on your chosen surface as well.
For example, while some floor tiles can be used on your wall, we don’t recommend that you use ceramic wall tiles on your floor because of their more fragile nature. You’ll also want to ensure that your tiles are of good quality, otherwise, you might find them cracking after installation, ruining your room’s aesthetic and undoing all the hard work you put in.
6. Always carry out a dry run
A dry run, also called 'setting out’, is an absolutely essential part of any tiling process – one that is always taken by professional tilers and should never be avoided.
Simply put, a dry run lets you see exactly how your tiles will be laid out before you begin, helping you work out where cuts need to be made, and getting the setup just right so that your new décor fits your desired aesthetic before you adhere anything down.
7. Choose the right surfaces to work on
When it comes to tiling, the type of surface or subfloor you’re installing your tiles on is a key factor in determining how easy it is to lay your tiles successfully. For example, the best bathroom wall surface to tile onto is a ‘tile backer board’, as it’s flat, smooth, and made for this exact purpose.
Make sure you consider what surface you’ll be working on and where any fixtures and fittings will sit before you start tiling. That way, if needed, you can adjust your tile backing appropriately to ensure it’s strong enough to support any wall hangings or furniture.
8. Purchase the appropriate fixing products
Last, but not least, the eighth of our DIY tiling tips is to make sure that you purchase the right tile adhesive and fixing products for your specific project materials. Because when it comes to tiling, you shouldn't expect your project to be a success without the appropriate adhesive and grout.
Your required fixing products will vary depending on the tile material and substrate you’re working with, so always speak with whoever is supplying the fixing products and discuss your intended installation process with them. That way, they’ll be able to advise on exactly what type of fixing products to buy.
Buy your ideal tiles from Stone Store
And there you have it; those are our tips for DIY tiling! Hopefully, our advice for approaching a DIY tiling project will help to make your project a success. But if you want more insight into specific tiling tactics, then be sure to visit our tiling inspiration hub for more guides on how to tile uneven floors or prepare your floor for tiling.
Of course, if you’re already well-versed in the tiling process, and simply need to pick up your tiles and get started, then be sure to take a look at the Stone Store range, today!
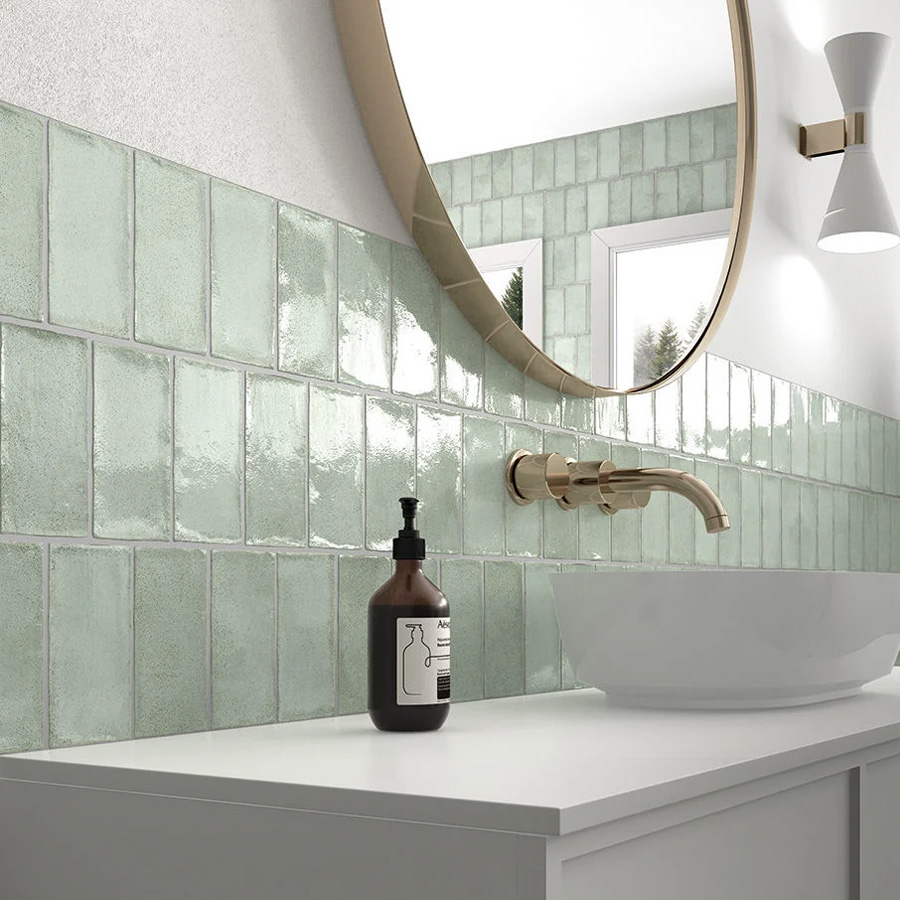
Whether you’re after classic marble-effect tiling or a more trend-led patterned wall tile, there’s something for everyone in our collection. Get in touch to speak with our experts directly for more information, and don’t forget to order your free samples before you start so you can see how your new tiles will look in situ before you begin.


