
Whether you land on using natural stone slabs or outdoor porcelain slabs, paving tiles are a stylish, yet practical, addition to any exterior space.
Being both impressively durable and low maintenance, a set of high-quality outdoor porcelain tiles can do wonders for transforming your garden’s aesthetic, whether that’s as a driveway, patio, or garden path.
However, laying porcelain paving slabs is a sizeable task. So, to avoid potential mistakes or delays, we’re going to walk you through how to lay porcelain paving slabs on different surfaces, as well as when you should consider hiring a professional to do this type of paving job.
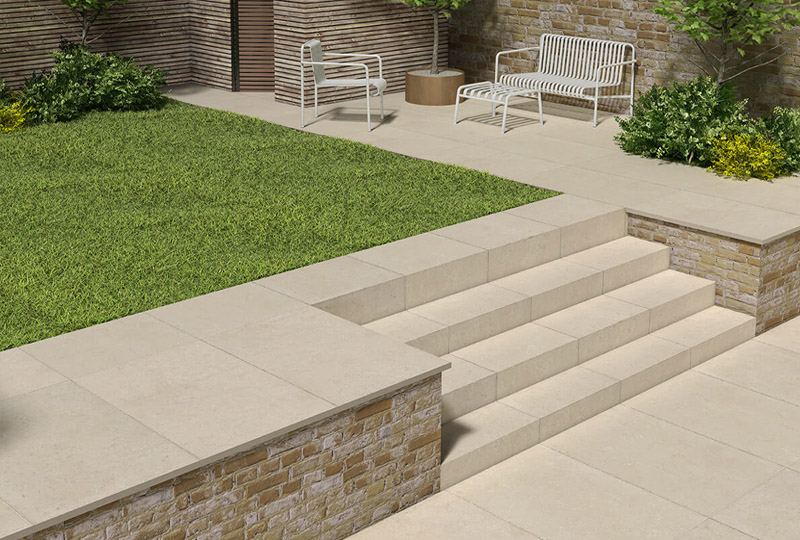
Richmond Beige Porcelain Paving
Where to start when laying porcelain paving slabs
For those wanting to know the best way to lay porcelain paving, there are some vital steps you should follow to ensure your tiling project runs smoothly - especially if you want to avoid spending additional time, energy and money to pull everything up and re-lay it if mistakes are made.
First and foremost, as when laying any outdoor tiling, doing a dry run is an absolute must. This is where you lay the paving slabs out in your desired pattern before you start fixing them to the floor, because once they’re fixed in position, there’s no easy way to reposition them, and you run the risk of damaging slabs if you try to lift and move them.
Doing a dry run like this will also help you locate the best spot from which to start your tiling, while simultaneously making the whole laying process that much quicker by minimising the number of paving cuts needed to make your slabs fit.
Second, you want to make sure that you have the right number of tiles you need for your project, as well as a few spares in case any break. This way, you won’t have to pause tiling mid-way through the installation process to wait on more slabs. We always recommend ordering an additional 10% over your required square meterage for cuts and wastage.
Finally, on top of this, we recommend getting your tiles delivered several days before you plan to begin your project, giving you or your installer plenty of notice to begin the project in case of any unforeseen circumstances.
How to lay porcelain paving slabs on different surfaces
With initial prep out of the way, it’s time to start thinking about how to go about laying your porcelain slabs – and just like tiling indoors, the type of subfloor you plan on tiling on top of will dictate how exactly you go about adhering your slabs to the ground.
We’ve broken down the process for each different surface, so you know how to lay porcelain tiles outside.
How to lay outdoor porcelain tiles on a raised pedestal system
A common type of system to use with porcelain paving, and specifically made for use with this type of material, is a pedestal system. This works by introducing a plastic base between the tiles and the ground to provide a solid and stable support for your tiles to rest on.
These pedestals are height adjustable, allowing you to find the perfect height to raise your slabs to for a level finish, and merely require you to fit them below ground level to a height that matches that of the surrounding area.
Using a pedestal system also means there is no requirement for adhesives or grout, saving you plenty of time and money during the installation process, and the lack of grout even provides your new space with natural drainage.
On top of this, a pedestal system is ideal where pipework or wiring is required as part of your paving project, as systems can be hidden underneath the space created by the height of the pedestals, and individual slabs can readily be lifted for inspection and maintenance purposes.
However, be aware that, you will still need to use porcelain tiles with a minimum thickness of 20mm, otherwise your tiles could crack or break. As for the safety installation of your pedestals, we suggest following the recommendations provided by the manufacturer.
Laying outdoor porcelain tiles on concrete
While the pedestal system can be effective for anyone looking to use porcelain paving as part of a patio or pathway, when it comes to driveways, you’re going to need a subfloor with greater structural integrity – such as concrete.
Of course, you shouldn’t adhere your new pavers directly onto your concrete, as several precautions must first be taken to create a level working surface. In most cases, this will mean applying a self-levelling screed as well as lowering your drive depth so that your new tiles won’t poke past ground level.
Once you have a dry, solid base, we then recommend using a propriety porcelain paving fixing adhesive, such as Mapei S1, along with Kerakoll Primer A if your screed requires priming, to provide maximum adhesion potential for your tiles.
Finally, after your tiles have been laid, you must grout between the tiles so that water and dirt can’t interfere with your adhesive’s strength.
How to lay porcelain paving on grass
One of the best qualities of heavier porcelain paving is its weight, meaning that it can simply be laid in a grassy area without the need for permanent fixing. This is a quick and easy installation method, being particularly suited to stepping stone-type paths, and is ideal if you want to move your pathway at any point and reuse the tiles.
In fact, all you need to do to lay your pavers on grass is:
1. Position the slabs onto the grassed area in your desired pattern.
2. Whist in position mark around the edges of each slab using a flat garden tool such as a spade or lawn edge cutter, being careful not to chip the corners or edges of the slab.
3. Remove the turf in these spots to the depth of your slab, making sure the base of the removed surface is flat.
4. Once you’ve placed your paving, fill in any gaps around the tile edge with dirt.
5. Tap your slabs firmly into place with a rubber mallet.
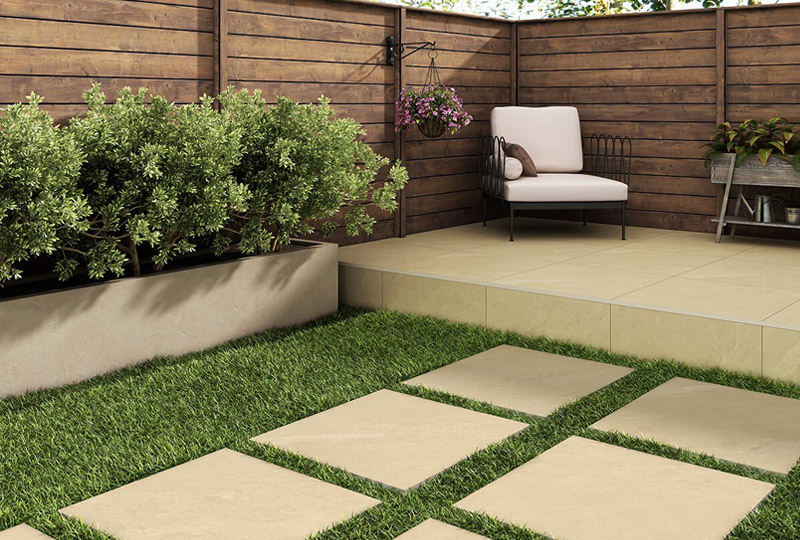
Portland Sand Porcelain Paving
Should you hire an expert to lay porcelain paving slabs?
As you can see, laying porcelain paving is relatively straightforward, but as with all major home improvement projects, it’s generally recommended that you hire a professional installer for the job instead. This is mainly for the following two reasons:
Tools: Having the correct tools is essential for getting a job such as this done to the best quality. Tradesmen have access to the full specific range of tools required to do this kind of job properly, while you may very well have to rent or buy the tools required. They’re also trained in the use of them, making mistakes less likely.
Timescale: Due to the lack of experience, even simple paving projects can take far longer than expected for DIYers, which may not bode well if you’re on a deadline or are working around bad weather.
So, if you are set on laying your porcelain paving yourself as a way of saving money, it may be best to offer your services as a labourer to the installer rather than complete the whole project yourself. This way you can pick up installation tips too, should you decide to complete another paving project at a later date.
You should now have all the information you need to install porcelain tiles in your garden. Of course, once laid, you’ll also need to ensure they are maintained properly, so they last you for years to come. To learn more about this, we suggest reading our article on how to care for porcelain paving – or discover even more outdoor paving advice guides from our team of experts.


