Regardless of the size of your patio, whether you’re building a cosy little patio or an expansive courtyard area, grouting patio slabs is a crucial part of the installation process.
Not only is patio pointing a vital step to a finished look, but it’s also essential in protecting your new outdoor paving slabs. Otherwise, you might find your new tiles cracking and breaking over time.
But if you’ve never done this sort of DIY project before, then you might not be sure how to grout a patio and where to start. However, don’t worry, patio pointing is far simpler than it might first appear, provided you have the right knowledge to do it properly.
So, if you plan on grouting your patio yourself, keep reading to learn how to grout patio slabs the right way, and how to seal a patio against the elements once your grout has dried.
What is patio grouting?
Much like the grout used with indoor tiles, patio grouting is the cement or resin mixture used to fill in the gaps between your patio paving slabs to form a protective barrier between them and the exterior elements.
In essence, the application of grout is all about completing the look of your new space while maintaining that all-important outdoor tile longevity, giving you a patio that will look spectacular years down the line.
Why is patio pointing important?
The primary function of patio grout is for the protection of your new tiles, not just from the adverse elements presented by the British weather, but from the surrounding tiles as well.
Patio pointing essentially creates a flexible but durable barrier between your tiles, allowing them to expand and contract without cracking, while also preventing them from touching each other directly and chipping.
Not only that, but this layer of grout is also a necessary addition to protect each tile’s paving adhesive as well by forming a solid, waterproof barrier that stops moisture from damaging the adhesive directly. As an added bonus, this additional protective layer minimises the likelihood of weeds growing in tile gaps.
Finally, outdoor tile grout is crucial for completing your new patio’s aesthetic with a clean and considered look. No one wants to experience a patio filled with cracked slabs or numerous tile gaps, hence why grout is always applied with the best patio jobs.
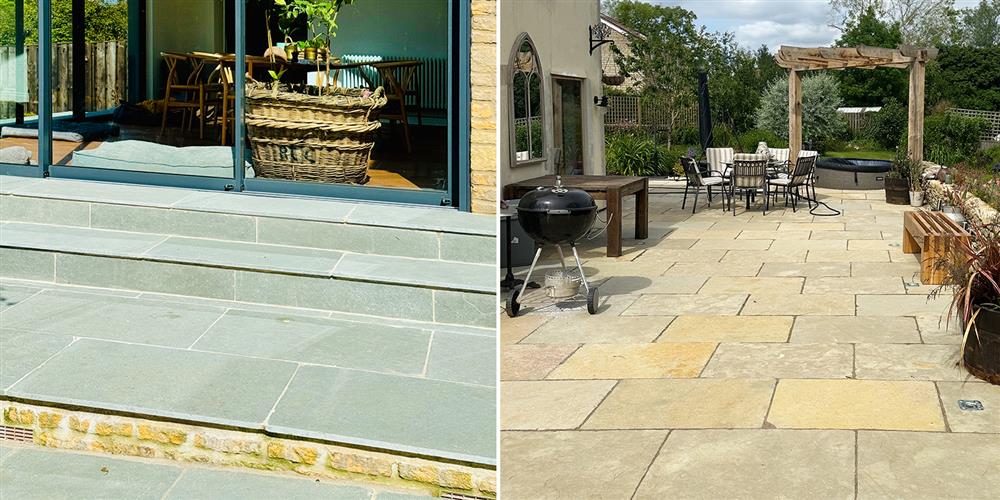
Left: Parisian Grey Limestone, Right: Mandalay Buff Limestone
What tools do I need to grout patio slabs?
Having touched on what patio grout is and why it is so important, we can now move on to looking at how to grout paving slabs properly – starting with the tools you’ll need to do the job.
We’ve outlined a full list of the required tools below. However, which tools you’ll need to use will depend on the sort of patio grout you choose to apply, hence the notation listed by each tool:
- Grouting trowels (traditional grout)
- Grouting float (epoxy grout)
- Large squeegee (epoxy grout)
- Pointing iron (traditional grout)
- Wheelbarrow (traditional grout)
- Soft brush (all grout)
- Sponge (traditional grout)
- Bucket (traditional grout)
- Broom (ready-mix grout)
What type of grout can be used for outdoor paving?
When it comes to what type of grout to use for outdoor pavers, you have several options available to you, all of which create the same results but differ in their application process. Which you choose is likely dependent on how much time you want to spend on the grouting process:
- Traditional grout: made using a combination of sharp sand, cement mortar, and sometimes additional aggregates, sand-cement is the tried and tested method for how to grout patio slabs. Incredibly durable and ideal for heavy foot traffic areas, its only real downside is that it can take a while to apply and requires precision to get the mixture right.
- Ready-mix: also known as polymeric sand, ready-mix paving grout is easy to use and quick to apply. However, it’s expensive, tends to be limited in colour, and is only really suitable for use in narrow tile gaps.
- Epoxy jointing: formed of a resin and a hardener, two-part epoxy jointing mortar is strong, durable, and usable with all manner of paving materials. It’s often the favoured grout of choice for professional pavers but is expensive and requires careful mixing and area preparation before use.
How to grout paving slabs
With your chosen grout selected and the tools you’ll need collected, it’s finally time to start grouting your outdoor tiles. We’ve outlined how to grout between paving slabs below using each type of grout, so you can decide which method best suits your skills or project timeframe:
Traditional grout
To apply traditional grout, you’ll need to take the following steps:
1. Clear your patio surface and paving gaps of any loose debris and materials that have accumulated since laying your tiles.
2. Next, mix your sand and cement together in your wheelbarrow, aiming for a combination of 4 parts sand to 1 part cement, i.e., 200g of sand for 50g of cement. Once it’s thoroughly mixed, slowly add water until it forms a thick consistency that can be balled up in your hand.
3. Taking one of your trowels, scoop some of your mortar out and then use the second trowel to gradually slice the mixture into your patio gaps, pushing the mortar down firmly into the gaps for a consistent coat that fully fills each joint.
4. With your joints filled, take your pointing iron and use it to remove any excess mortar.
5. Once you’ve completed a small area, take a soft brush and use it to sweep away any cement still on your slabs before it can dry, using a damp sponge and water to remove more stubborn residue if necessary.
6. Continue this process until the whole of your patio has been grouted, give the surface a final brush to ensure no excess mortar is present, and then leave your grout to dry for at least two days before stepping on it.
Ready-mix grout
To apply ready-mix grout, you’ll need to take the following steps:
1. Start by clearing any debris from your patio tiles and joints so they’re clean to use.
2. Next, take a hose and use it to wet your patio until it is saturated completely (you’ll also want to keep this hose to hand as you grout your patio in order to keep it wet).
3. Then, using your broom and following the instructions on your ready-mix grout, steadily brush the mixture into the gaps between your slabs until fully filled, before using the brush to clear away any excess residue.
4. Finally, once finished, leave your patio to dry for at least 24 hours before use.
Epoxy jointing grout
To apply epoxy jointing grout, you’ll need to take the following steps:
1. Once again, start by removing all debris from your patio surface and from in between your slabs.
2. Next, you’ll want to block any potential gaps at the edge of your patio so that the mix can’t seep out.
3. Then, following the instructions provided with your product of choice, mix your components together until they form a slurry-like paste.
4. In the same manner as ready-mix grout, soak your patio thoroughly and make sure your hose is available to keep the surface wet if required.
5. With your patio wet, use your grouting float or large squeegee to apply the mixture and completely fill in all gaps before washing off any surplus mortar where required.
6. Once the process has been completed, allow your patio grout to dry for at least two days before using it.
How to grout porcelain slabs
As you may have noticed, none of our steps for how to grout between paving slabs have specifically mentioned what tile material is involved. This is, for the most part, because your choice of grout can be used interchangeably with all tiling materials.
However, for the best results and look when using porcelain outdoor tiles, we recommend using either ready-mix or, if your slabs are installed on a concrete base, cement-based grouts suitable for external use like our Grout3000. These products are specifically tailored towards use with porcelain outdoor tiles and make porcelain paving maintenance that much easier.

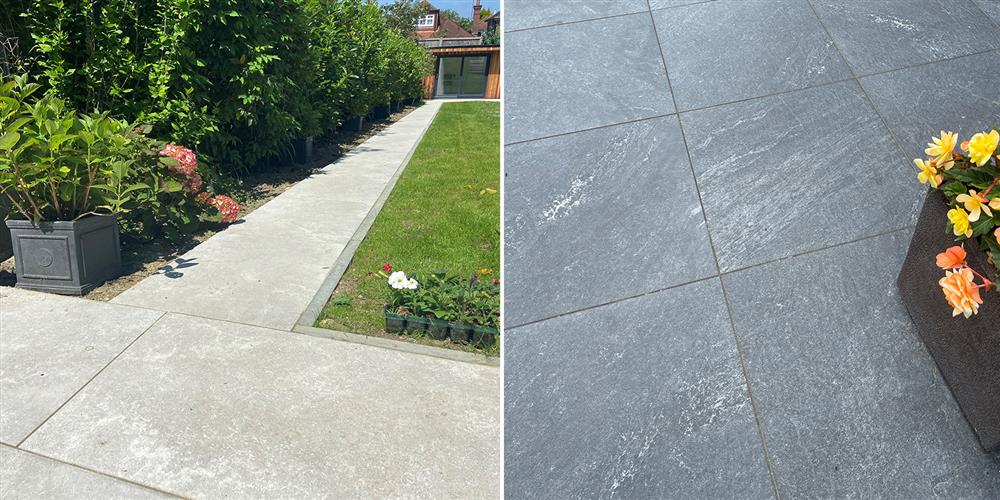
Left: Charterhouse Grigio Porcelain, Right: Luxor Nero Porcelain
How to seal a patio
Although you might think it, once you’ve done all your grouting, your job isn’t quite complete just yet. After all, grout isn’t as effective if it isn’t properly sealed alongside your tiles.
So, to go about sealing your patio properly, we recommend taking the following steps:
1. Picking a dry day, wash and clean your tiles to remove any debris and potential mould growths that may have taken root.
2. Next, apply your paving sealant of choice by following the instructions outlined by your chosen product.
3. Once applied, wait for your sealant to dry and then apply a second coat.
And that’s it, sealing your tiles really is as simple as that!
How to regrout patio tiles
In most cases, your initial grouting will likely last you for many years to come. However, eventually, the harsh UK weather and constant foot traffic can take its toll on your patio pavers and grout, leading to cracks in the cement or even missing chunks, which will need replacing if you want to keep protecting your tile’s adhesive and prevent weeds.
Fortunately, regrouting your tiles is a relatively simple, though time-consuming, task. Simply clear your patio of all debris and mould, then, using a grout rake, remove all damaged grout from between your tiles. From here you can regrout your tiles using the same mixture and steps we’ve outlined above.
Choose your tiles and grout with Stone Superstore
You should now have an excellent idea of how to grout your patio tiles properly to ensure they’re protected for many years to come. Of course, if you want to make sure you use a grout that matches the colour of your tiles, then it’s best to buy both from the same provider – such as Stone Superstore!
We have a stunning range of outdoor tiles in our range, including both natural stone paving and porcelain paving varieties, alongside various grouts and sealants in our fixing range.
Order your free samples from our warehouse today, and don’t forget to visit our tiling advice and inspiration blog for more insightful articles on patio maintenance and tile laying advice, such as how to lay natural stone tiles in your garden.


