
How to care for and clean outdoor porcelain paving
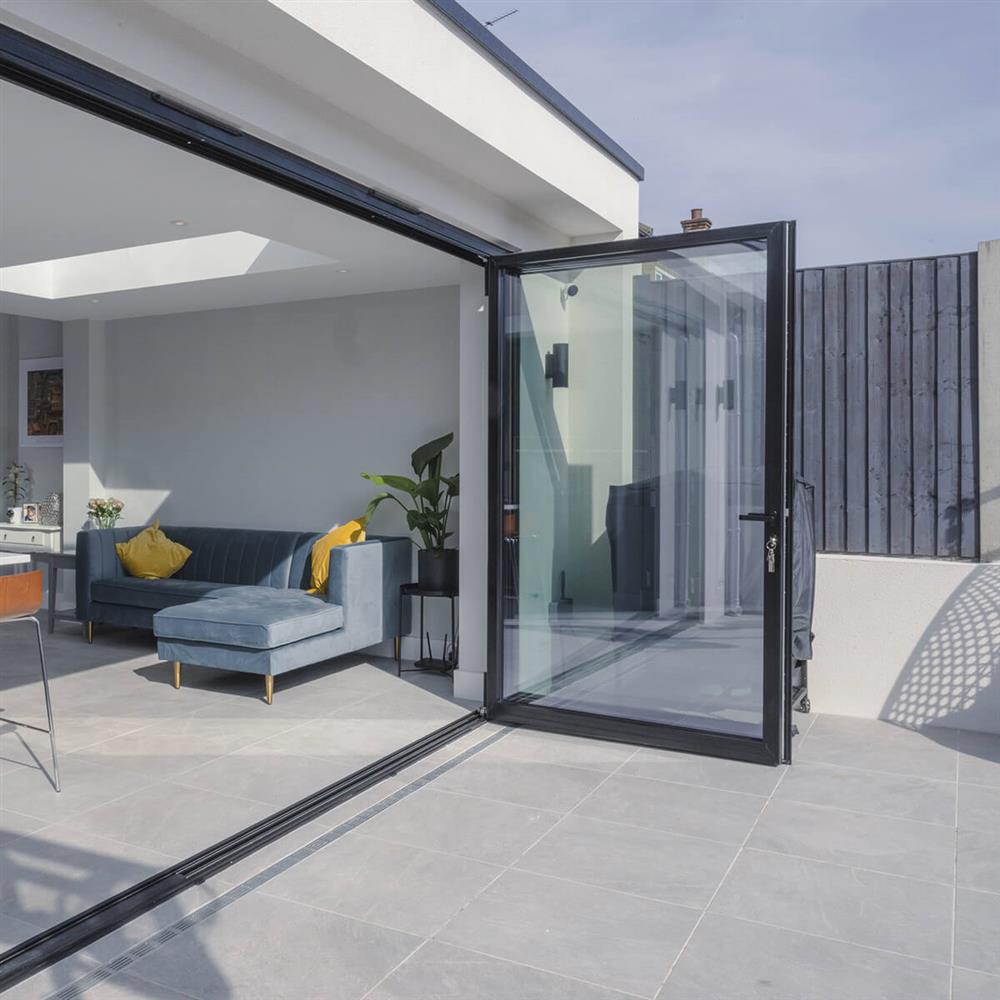
Here at Stone Store, we understand the increasing popularity of external porcelain for patios, driveways, and pathways among homeowners. After all, it’s durable, resilient to tough conditions, and looks great!
Looking after your porcelain paving slabs will keep it in great condition for years to come, so we’ve collated our favourite products to help you care for your paving before and after installation.
What is porcelain paving?
Porcelain paving is a type of outdoor tiling made from fired clay. Its high-density composition and manufacturing process make it incredibly strong and resistant to various outdoor elements.
With a thickness of 20mm, external porcelain paving is thicker than internal porcelain tiles, ensuring its longevity in even the most demanding areas of your garden. Additionally, porcelain slabs are resistant to weathering and staining, making them highly resilient against spills and scratches.
However, while porcelain paving is exceptionally robust, it does require some care to maintain its appearance and slip-resistant qualities. Whether you've chosen stone effect paving or contemporary cement-style slabs, all external porcelain paving can benefit from seasonal cleaning.
What type of porcelain slabs should I use?
It may be tempting to use 10mm porcelain tiles for your external paving project, either because you like a particular design or colour, or the tiles are a lot lighter and easier to handle than purposeful 20mm outdoor porcelain paving. However, we recommend against using 10mm tiles for your external paving project.
External porcelain is manufactured to 20mm thickness so that it can withstand heavier loads, such as cars on driveways, so long as laid on a suitable substrate. If you plan to use a pedestal system for installation, 10mm tiles simply aren’t sufficiently load-bearing.
Also, external porcelain tiles are manufactured to have a slip rating of R12 (or more), which means they are grippier and slip resistant. Internal porcelain tiles, on the other hand, aren’t by default manufactured to such a slip-resistant standard.
How to care for porcelain slabs during installation
So, now we know what porcelain slabs are, lets delve into the best ways to clean and care for your paving. We’ve offered care guidance for each stage of your paving installation project.
How to care for outdoor paving before installation
Often, slabs are delivered to the site days or weeks before installation, so it's crucial to store them correctly:
- Keep the pallets covered and protected to prevent spills and marking on the slabs.
- If your delivery includes adhesive and grout, remove them from the pallet and store them in a dry place to prevent moisture from damaging the packaging and rendering the goods unusable.
Read our article on how to install porcelain paving for easy, step-by-step guidence.
Cleaning porcelain paving before grouting
During the installation process, dust, grime, and dirt can accumulate on the surface of your newly laid patio or driveway. Even though porcelain paving isn't porous, surface dirt can mix with grout and make your paving appear dull and dirty.
If you’re wondering how to clean porcelain paving before grouting, we recommend using LTP Grimex. Simply dilute one-part LTP Grimex in ten parts warm water and apply it liberally over the entire surface of the slabs using a soft brush. For stubborn marks, use a stiff brush. After 5-10 minutes, rinse off thoroughly with clean water.
Or if you’re considering an indoor installation, our guide on how to clean tiles before grouting features plenty of helpful advice.
Consider a pre-grout treatment
As previously mentioned, 20mm porcelain paving is manufactured to aid slip resistance. However, grout can stick to the textured surface, and once set can be a challenge to remove.
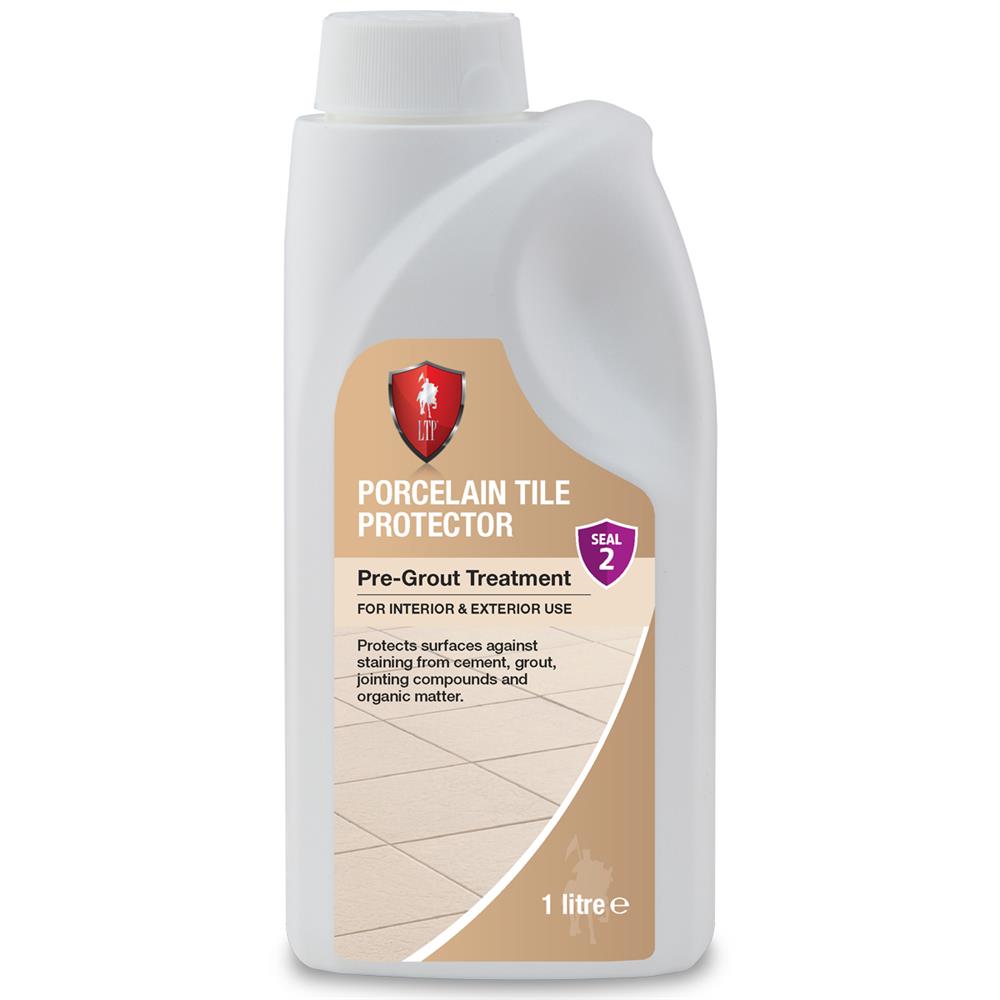
To protect the textured surface from grout residues, we suggest applying a pre-grout treatment, such as LTP Porcelain Protector. This water-based treatment is suitable for all types of porcelain surfaces and doesn't alter the appearance of the slabs. It also helps prevent staining from decaying leaves, residual grout, and general weathering. While we’d always recommend sticking to the manufacturer's instructions for application, you can typically follow this five-step process:
- Ensure the surface is as dry as possible before applying the sealer.
- Spread out evenly using a roller, sealer applicator, paintbrush or sprayer. Allow to dry for 30 minutes. Apply a second coat and leave to cure for a minimum of 1 hour before grouting.
- Grout in the joints or brush in the jointing compound and clean off residues. Always follow the manufacturer’s instructions.
- When dry and free of residues, apply a final coat of sealer, making sure to cover the joints as well.
- Keep off the surface while it is drying and keep as dry as possible for the first 24 hours.
How to clean outdoor porcelain tiles
If you’re beyond pre-grout protection and grout residue has dried onto your paving, don't worry - there are various types of residue remover that can save the day, including LTP Cement Grout & Salt Residue Remover.
This rapid-action cleaning agent is suitable for porcelain paving and can remove cement residues, grout stains, salts, efflorescence, and similar deposits. The best way to clean porcelain slabs:
- Dilute the solution 1:1 with cool water. Mask up and protect any areas that are not going to be cleaned.
- Test the product on an inconspicuous surface, initially, before applying the residue remover to your porcelain paving, working in manageable areas at a time.
- Add a little water and gently scrub the surfaces with a black pad to release the residues from the surface.
- Sponge up the excess fluid and residues. Repeat steps 2, 3, and 4 until your surfaces are clean.
- Rinse well with water. Allow the surfaces to dry before allowing anything on top of them.
Remove residues from brush-in jointing compound
Jointing compound is made from different ingredients to cement or sand base trowel-in grouts, so removing residues requires a specific solution. LTP Solvex is a high-performance, non-caustic remover designed to soften polymers, making residue easy to remove. To restore your paving, use the following process:
- Apply the solution directly onto the surface. Do not dilute.
- Brush out thickly and evenly and leave on the surface for a minimum of 30 minutes. Do not allow it to dry. Add more solution to keep the surface wet.
- Scrub using a short-haired stiff bristled brush. Rub the surface with a clean lint free-dry cloth to remove the softened films.
- Rinse immediately with a sponge and water. Change rinsing water every 5m2.
- Allow the surfaces to dry. If small amounts of residue remain, repeat the process.
Remove black spots, white lichen and algae from your porcelain paving
An unfortunate and rather common nuisance, knowing how to remove white spots from paving is actually easily rectifiable. While porcelain paving is highly durable and non-porous, it can still be susceptible to algae growth. To tackle this issue, we recommend using a dedicated black spot and algae remover:
- Fill a light-pressure sprayer with the solution. Do not dilute.
- Set the pressure to between 0.5 and 1 bar. Apply an even layer to the surface.
- Leave the solution to penetrate the surface. Leave for 1-5 hours depending on the level of soiling.
- Keep off the surface while the solution is active, including pets and children.
- Rinse well with plenty of water. Allow surfaces to dry before allowing traffic.
How to clean porcelain slabs
For routine cleaning of your porcelain paving, including how to remove rust from porcelain paving slabs, washing down your patio or driveway with hot soapy water should be sufficient. However, rather than a powerful jet washer, it’s recommended you use a low setting or simple hose on treated surfaces. This will agitate the surface but won’t reduce the effectiveness of the treatment.
However, if you prefer a non-rinse option, our specially formulated LTP Porcelain Floor Tile Cleaner is a great choice. A gentle solution designed for cleaning porcelain patio tiles without damaging the product or grout, you can use it easily by following these steps:
- Dilute 1 capful of cleaner per litre of warm or cool water.
- Mop surfaces. Microfibre or string mops are fine.
- No need to rinse - leave the surface to dry naturally.
- Keep off surfaces until they are completely dry.
Should you wish to spring clean your porcelain patio to combat leaves and debris that have marked the surface, using a heavy-duty grime remover will remove stubborn stains. Alternatively, if you're concerned that your paving slabs could have been susceptible to surface damage, you may need to look further into how to remove scratches from tiles.
Hopefully, following these steps, you’re a little more confident about how to clean porcelain paving slabs, to ensure your porcelain patio, driveway, or pathway looks fantastic for many years to come. And if you ever need more guidance, we've got you covered with our informative outdoor paving guides - or for even more from our experts, explore our full range of tiling advice, including how to clean porcelain tiles.


