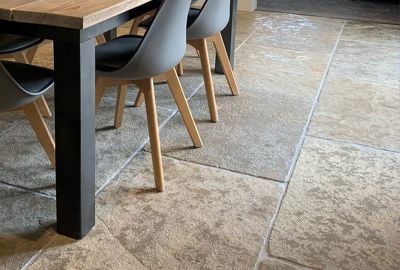

Natural stone tiles have been used to enhance the aesthetic of floors and walls for centuries. But it’s important you know how to keep them in showroom condition, including having an idea as to when your tiles need resealing. The following instructions are a guide to ensure that your stone surfaces remain protected and easy to clean for many years to come.
Why is important to reseal your tiles?
No matter what natural stone tiles you opt for, they all need sealing to protect them and keep them looking their best. This helps by reducing its porosity, which means it becomes more resistant to general wear, dirt, and stains. Not only that, but sealing your tiles also means their appearance will last longer and are easier to clean.
However, your original sealer won’t last forever, and will naturally degrade over time. When this happens, it’s no longer protecting the tiles as it should, so you’ll need to reseal them.
How to identify when your stone tiles need re-sealing
All natural stone surfaces are porous, so resealing tiles is typically required around every 3 to 4 years. However, if you’re wondering whether it’s time to reseal your tiles, a quick way to check is by performing the water drop test. This test works on all natural stone surfaces, including marble, granite, and limestone tiles.
All you need to do is drip a little bit of water on top of the stone and leave it for around half an hour. In this time, if the stone has darkened or the water has full absorbed, you’ll need to reseal your stone tiles.
Otherwise, if the water is still there or it evaporates without darkening, the initial seal is in good condition and continues to protect your tiles so resealing isn’t necessary yet. Of course, if you’d still rather avoid the risk, you can reseal your tiles anyway!
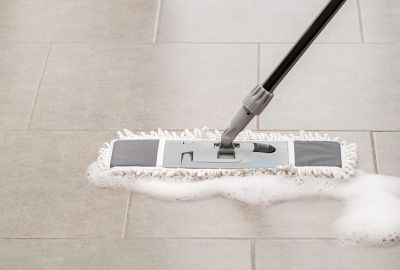
How to clean tiles before re-sealing
Before resealing stone tiles, you’ll need to clean away any of the old sealer, along with any trapped dirt. There are a couple of ways you can clean your natural stone tiles:
- Using specialist products: an intensive cleaner such as LTP Power Stripper tends to work best. The LTP Power Stripper will soften and lift the existing sealer, and LTP Grimex should be used to remove surface residues. Using LTP Grimex after LTP Power Stripper will prevent impurities from being re-sealed into the pores of the tile, allowing those pores to fill with sealer, and for the sealer to work effectively.
-
- DIY tile cleaning: some mild washing up liquid mixed with warm water can be effective. Be mindful of how much dishwashing liquid you’re using, though, as too much may leave a film that affects the seal. Specifically, avoid detergents that include lemon, vinegar, and other acids which don’t work well with stone like marble and limestone.
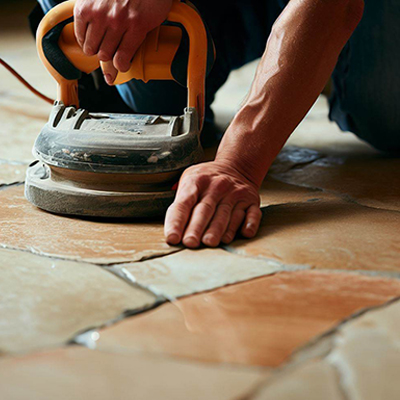
How to reseal tiles
Sealing (and resealing) tiles makes your stone surface water and oil repellent, which helps to prevent stains. Essentially, it provides an invisible protective barrier for your tiles.
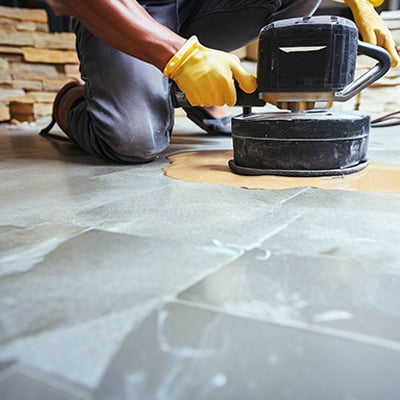
After the whole tiled area has been properly cleaned, it’s time to follow the same sealing process as normal.
- Apply a first coat.
- Buff away the excess sealer.
- Let your sealer dry.
If you’re in need of a quick refresh or want a more detailed process, you can check out our guide to sealing natural stone tiles. Once that’s all been sorted, it’s onto grouting the tiles, and then applying a final coat of sealant.
Using the correct sealer is key, as the type and amount you use depends on the tile, since some have a higher absorbency rate. We recommend LTP Matt Finish Stone Sealer & for honed and tumbled surfaces, andLTP Polished Stone & Porcelain Sealer& for shiny polished natural stone.
Maintenance of stone tiles after resealing
As we’ve discussed earlier, sealing your tiles will inevitably make daily maintenance easier. As part of your cleaning routine, though, be sure to use a high-quality liquid soap suitable for all types of natural stone. LTP Waxwash, for example, is a gentle cleaner, containing a trace of linseed oil and formulated to clean the most delicate surfaces.
To use, simply dilute two or three capfuls (five capfuls on dirtier floors) in a bucket of warm water, before washing the floor and allowing it to dry completely.
Hopefully, you now feel more confident about resealing tiles and looking after your natural stone flooring. And if you found this helpful, for more tile maintenance advice, explore our selection of handy guides, including DIY repairs to stone tiles.